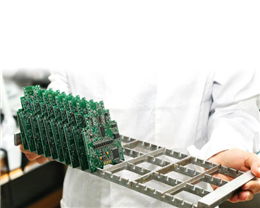
The finished product assembly after pcba processing is completed. Let's break down the assembly process:
1. Prepare the materials, equipment and tools required for circuit board assembly
①One DC regulated power supply and one multimeter;
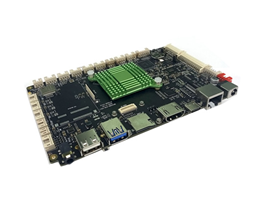
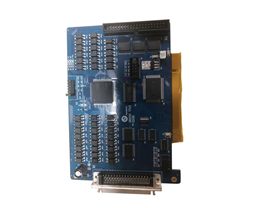
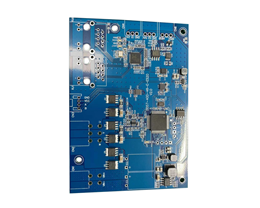
②Welded circuit board;
③The kits and shells of the products to be assembled, as well as the list of machine-related accessories;
④ Electric screwdriver, rag, electronic label (product identification code);
2. Inspection before assembly
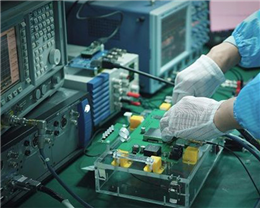
①Detailed inspection to be assembled list and circuit board inspection
②Check the product shell
③Inspect the product kit’s casing for defects and damage.
④Check whether the printed board is visually inspected whether the printed board is complete, whether the surface solder resist coating is in good condition, and whether there are obvious short circuits and short circuit defects. Use a multimeter to check whether the power supply and the ground terminal on the printed board are short-circuited.
3. Final assembly and shipment
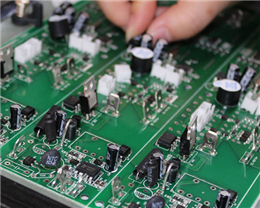
①The board with BGA and IC should use heat dissipation glue and crash pad;
2. Put the printed board into the housing in alignment with the position. Align the screw holes, be careful not to collide with components such as floating resistance-capacitance components;
③Fix the screws on the fixed printed circuit board and cover the casing with the assembly screws;
④Check whether the appearance is damaged and other appearance defects;
⑤Attach the product label;
⑥ Transfer to the back-end such as aging test;
The whole PCBA processing and assembly process is roughly like this. If there are special process requirements, it can be improved according to the relevant technical requirements of DFM.